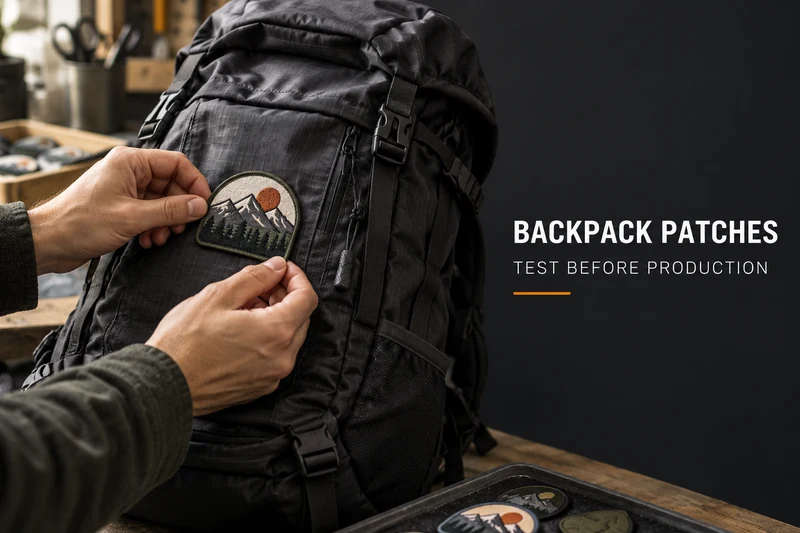
A logo patch can look excellent on a sample table and still cause trouble once it is attached to a backpack. The pack bends when it is filled, rubs against clothing and branches, gets caught in the rain, and may spend hours with its front panel pressed against other gear. That is a much tougher job than looking good in a product photo.
For outdoor brands developing custom backpack patches, the useful question is not simply, “Which patch material is the most durable?” It is, “Does this particular patch, attached in this particular way, work on our actual backpack?” Before approving bulk production, we recommend testing the complete combination: patch, backing, attachment method, bag fabric, placement, and packaging.
1. Test the Patch Position on a Packed Backpack
Start with the finished bag, not a flat piece of fabric. Fill the backpack to a realistic weight, adjust its straps, and look at the proposed patch position while the bag is worn and placed on the ground.
A patch centered perfectly on an empty front panel may look crooked when the pocket is full. A thick patch close to a zipper can interfere with the zipper pull. Placement near a curved seam, compression strap, or frequently folded section may also cause the patch edge to lift or the panel to wrinkle.
Mark two or three possible positions on an actual backpack sample. Check the patch from normal viewing distance, then open every nearby pocket and operate the buckles and straps. For a removable patch, make sure the loop field is large enough for the patch while leaving no exposed hook material to catch on clothing.
Approve this stage when: the patch sits flat on a loaded bag, remains visible in normal use, and does not interfere with the bag’s functions.
2. Match the Patch Material, Edge, and Attachment to the Bag Fabric
Embroidered, woven, and molded PVC patches each create a different result. Embroidery gives a textured, traditional outdoor look. Woven patches can reproduce finer lines and smaller lettering with a flatter profile. PVC can produce a molded, easy-to-wipe surface. None of these descriptions tells you how well the patch will attach to your specific backpack.
That decision depends on the fabric underneath. A dense woven panel, a thin ripstop pocket, and a coated waterproof fabric respond differently to needle holes, heat, and repeated bending. A heavy patch may pull a lightweight pocket out of shape. Sewing through a water-resistant panel can create new needle holes; a water-repellent patch face does not seal those holes.
Ask for a sample using the actual production fabric, including its coating or lining, rather than approving the patch on a convenient substitute. Compare the edge finish as well. A raised embroidered border, a laser-cut woven edge, and a molded PVC edge can feel and behave differently when they brush against clothing or other gear.
If a heat-applied backing is being considered, test the required application process on the real bag material before making it a production specification. Heat and pressure that work on one textile may affect another fabric’s coating, shape, or finish. For many backpack projects, a properly planned sew-on construction or a sewn-on loop field may be the more practical starting point, but the finished sample should decide.
3. Check the Stitching and the Area Around It
Do not inspect only the patch face. Turn the backpack panel over. Look at stitch spacing, thread tension, seam allowance, backing material, and any visible damage around the needle holes.
On the front, check that the patch does not pucker the bag fabric. At the corners and curves, look for missed stitches or places where the needle has passed too close to the edge. Then flex the panel repeatedly by hand and inspect it again. A clean first impression matters; a clean result after movement matters more.
For a sew-on patch, the question is whether the whole attachment remains sound: thread, patch border, and backpack fabric. If seam strength is a contractual requirement, the buyer and supplier can agree on a suitable laboratory method and acceptance criteria for the relevant fabric assembly. ASTM D1683/D1683M, for example, addresses failure in sewn seams of woven fabrics; it should not be presented as a universal pass mark for every finished backpack patch.
Ask the supplier to record: the attachment method, stitch position, thread specification, approved patch size, and the bag panel used for the sample. These details make a repeat order much easier to reproduce.
4. Simulate Abrasion, Rain, and Everyday Cleaning
Think about where a backpack actually rubs. A front patch may brush against a jacket, car seat, overhead compartment, or another bag in storage. Rub the finished sample against the surfaces it is likely to encounter, paying particular attention to raised embroidery, exposed threads, corners, and printed details. Compare it with an untouched control sample.
For a formal textile abrasion requirement, methods such as ASTM D4966 (Martindale abrasion) can provide a defined test procedure for suitable textile materials. Laboratory abrasion results are useful for comparing agreed samples; they should not be turned into an unsupported claim that a patch will last a specific number of years.
Next, expose the finished bag sample to the kind of water contact its customers may face. Check the patch face, its edge, attachment points, and the inside of the bag panel. After it dries, inspect for staining, edge lifting, distortion, and changes to the backing. AATCC TM22 measures how a textile surface resists wetting in a spray test. That is different from proving that a stitched backpack panel is waterproof.
Finally, clean a sample according to the care instructions the brand intends to give customers. Try the approved wiping method and let the bag dry fully. If the care instructions say “wipe clean,” testing only a brand-new, dry patch will miss an important part of its real use.
5. Check Logo Readability and Snagging Risk
Open the artwork file, then step away from the screen. Will someone recognize the logo when the backpack is worn, moving, and viewed from a few feet away? Fine lettering that looks sharp at 400% zoom can disappear when stitched or molded at the final patch size.
Request a physical sample in the proposed size and colorway. Inspect the thinnest lines, smallest text, border clearance, and contrast against the bag fabric. For an outdoor collection with several bag colors, place the same patch against every intended fabric color before approving one universal version.
Run a hand across the finished patch in different directions. Look for loose embroidery threads, sharp corners, and edges that could catch on a knit sleeve or an adjacent strap. This is especially useful for patches mounted on areas that regularly contact the wearer or other gear.
Color transfer and fading can also matter for a collection sold in several markets. If the project needs measured results, agree on the relevant test and pass criteria in advance. AATCC TM8 addresses color transfer by rubbing, while AATCC TM16.3 addresses colorfastness to light using a xenon-arc apparatus. The selected tests should reflect the patch construction and the brand’s actual requirements.
6. Approve a Sample in the Brand’s Own Packaging
A good patch can arrive at the customer looking less good if finished backpacks spend weeks tightly packed together. Before the bulk order, pack a small number of completed bags using the intended polybag, tissue, carton, and packing direction. Leave them packed for a trial period, then inspect the patches immediately after unpacking and again after the bags regain their shape.
Look for compressed embroidery, marks transferred onto nearby fabric, bent PVC edges, scratches from hardware, and color transfer between parts. If a raised patch presses directly against a metal buckle in the carton, changing the packing arrangement may solve the issue without changing the patch itself.
This is also the right time to approve the production reference: finished patch dimensions, colors, border, backing, attachment position, stitching, bag fabric, and packing method. Keep one signed or clearly identified sample for the brand and one for the supplier. “Make it like the sample” becomes much more useful when everyone is holding the same approved sample.
A Practical Pre-Production Checklist for Backpack Brands
- Test the patch on a finished backpack made with the intended production fabric.
- Check placement with the bag both empty and realistically filled.
- Confirm the edge, backing, and attachment method together.
- Inspect the front and reverse sides after repeated panel flexing.
- Check wear, water exposure, drying, and the stated cleaning method.
- Approve logo readability at the final physical size on every bag color.
- Inspect a completed bag after trial packing and unpacking.
- Record agreed acceptance criteria before releasing bulk production.
The best custom patch for an outdoor backpack is the one that works with the bag’s construction and use, not merely the one that looks strongest on a material swatch. If your brand is comparing embroidered, woven, or PVC options, start with your bag fabric, artwork, target patch size, and intended attachment method. Our quality control overview explains how we approach production checks, and you can contact LOVECOLOUR to discuss a physical sample before placing a bulk order.
Frequently Asked Questions
Are PVC patches waterproof on a backpack?
A molded PVC patch face may resist wetting and be easy to wipe, but that does not make the complete backpack panel waterproof. Stitch holes, attachment details, and the bag fabric must be evaluated separately on the finished sample.
Is a sew-on patch better than an iron-on patch for an outdoor backpack?
There is no universal answer for every bag fabric. Sewing allows a visible, inspectable attachment but creates needle holes. Heat application depends on the backing, temperature, pressure, and the bag material’s tolerance. Test the proposed method on the real fabric and review the complete sample after bending, moisture exposure, and cleaning.
What should a brand send when requesting a custom backpack patch sample?
Send the logo artwork, proposed patch size, bag photos or a physical bag sample, production fabric details, preferred patch style, placement, target order quantity, and expected use conditions. If the patch must meet a specific test result, include the test method and acceptance criteria at the quotation stage.